As a vacation rental owner, you understand the importance of offering your guests a clean and comfortable space. Why Hire Professional Cleaning Services for Your Vacation […]
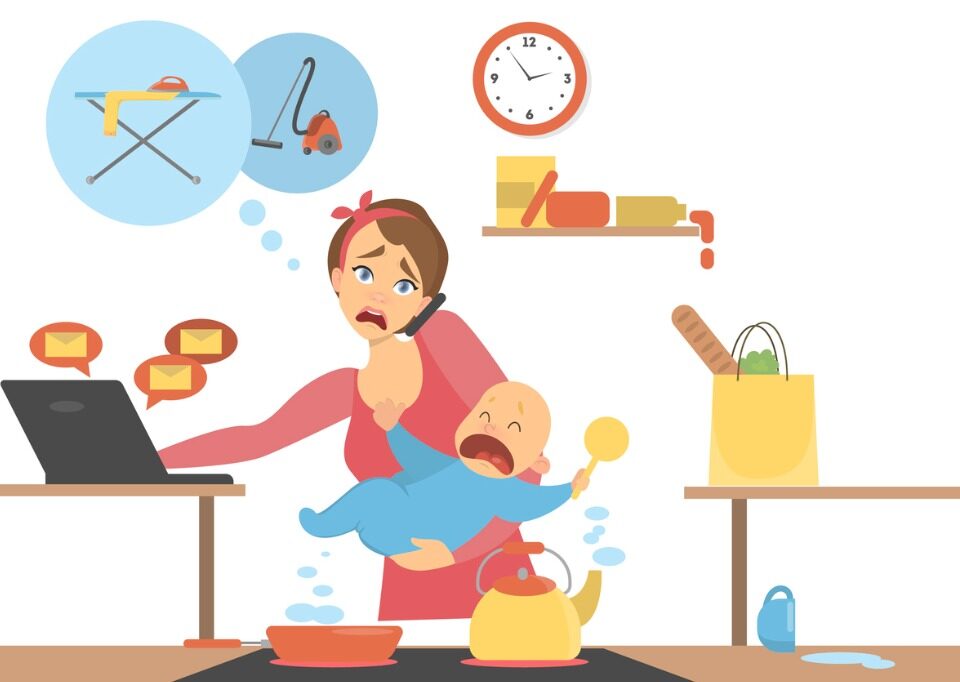
If you’re like most people, you’re probably very busy. Between work, family time, and all the other activities that fill up our schedules, it can be […]
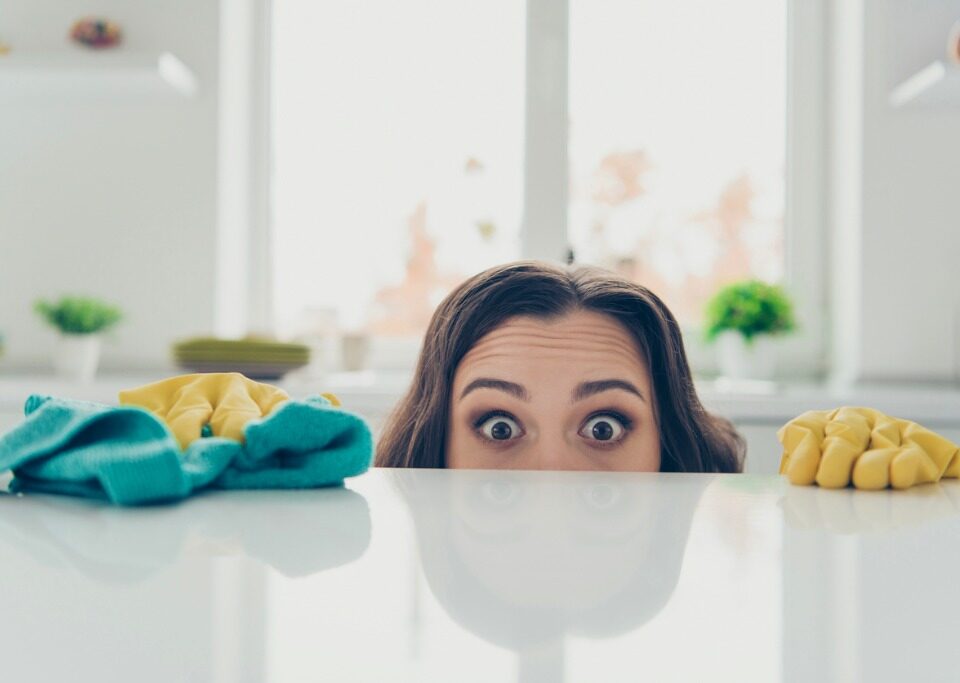
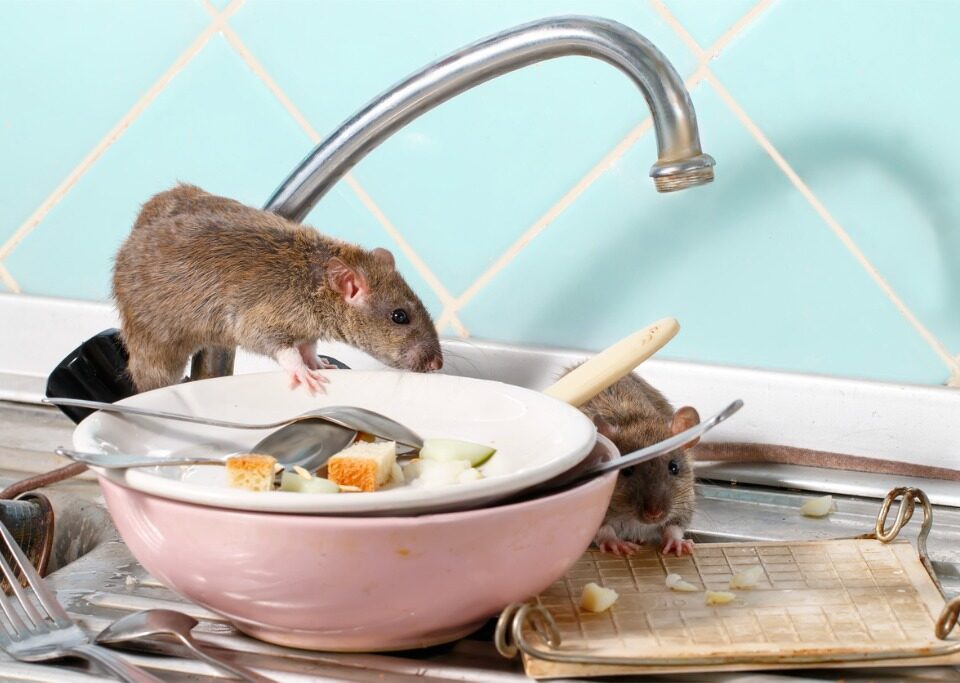
Did you know there are things a regular residential cleaning service can’t clean? That’s right. There are things a regular cleaning service isn’t allowed to touch. […]
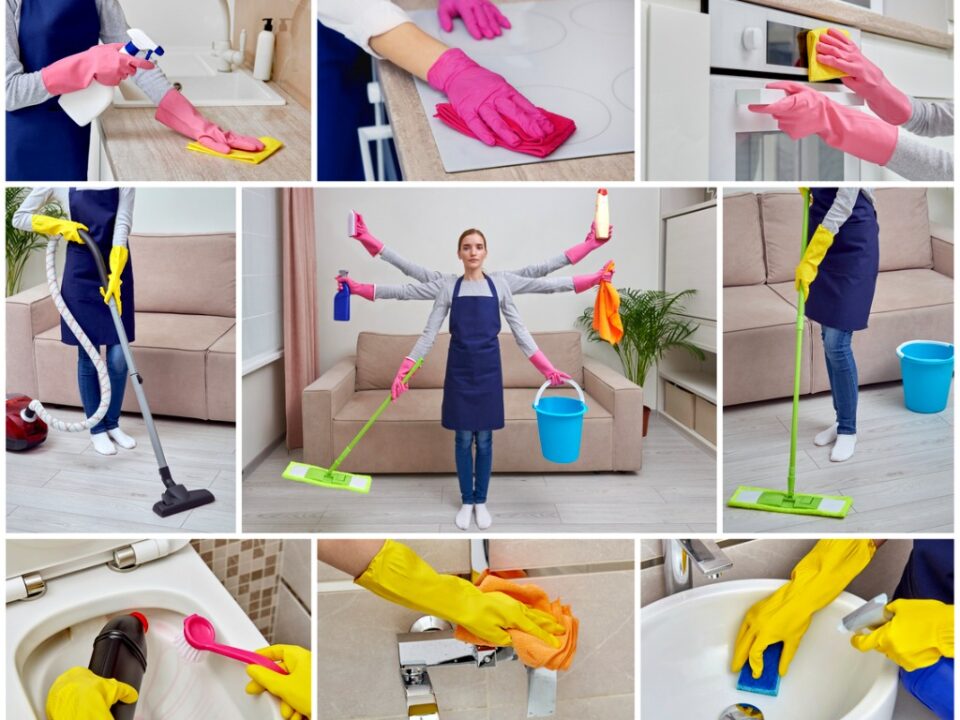
Having a professional cleaning service clean your home benefits you in many ways. Here are some of the benefits of hiring an experienced, reputable professional cleaning […]

