The lazy days of summer are here. The days where the heat and humidity sap your energy for doing anything that requires effort, including cleaning. Well, […]
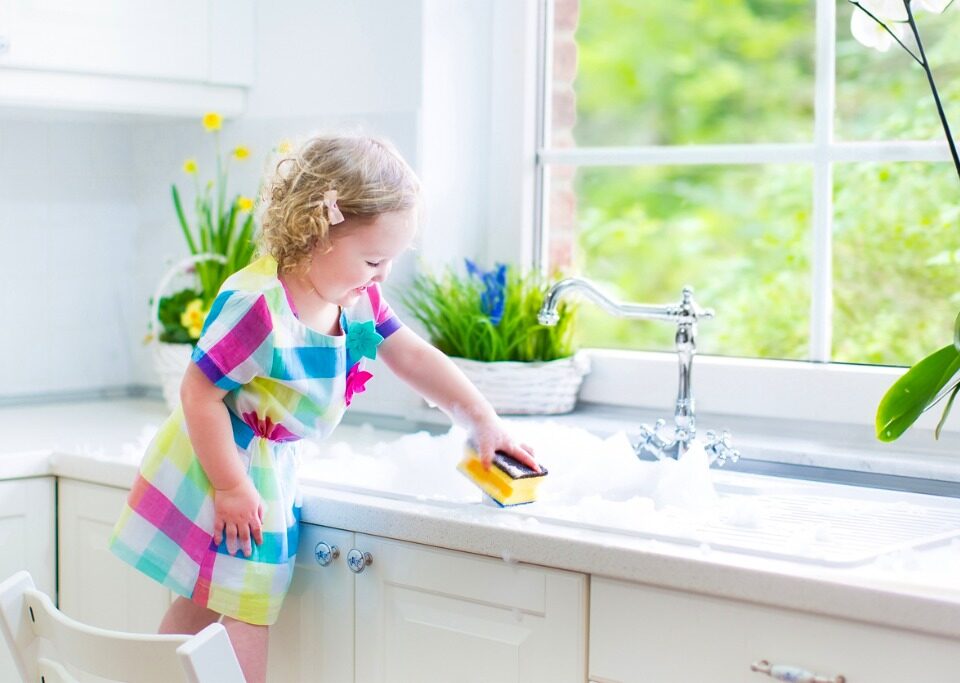
Summer is not the time to slack off on cleaning. In fact, the high humidity and hot temperatures make a regular cleaning routine even more important […]
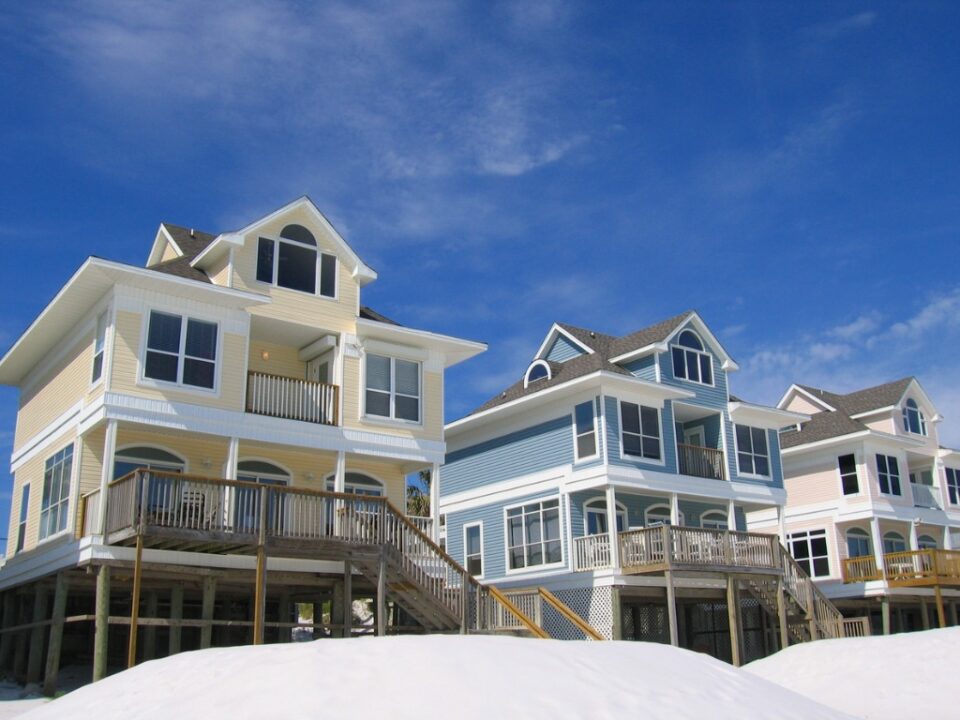
When you manage properties or vacation rentals, you need a cleaning partner that knows how to create an inviting and spotless space for your guests and […]


