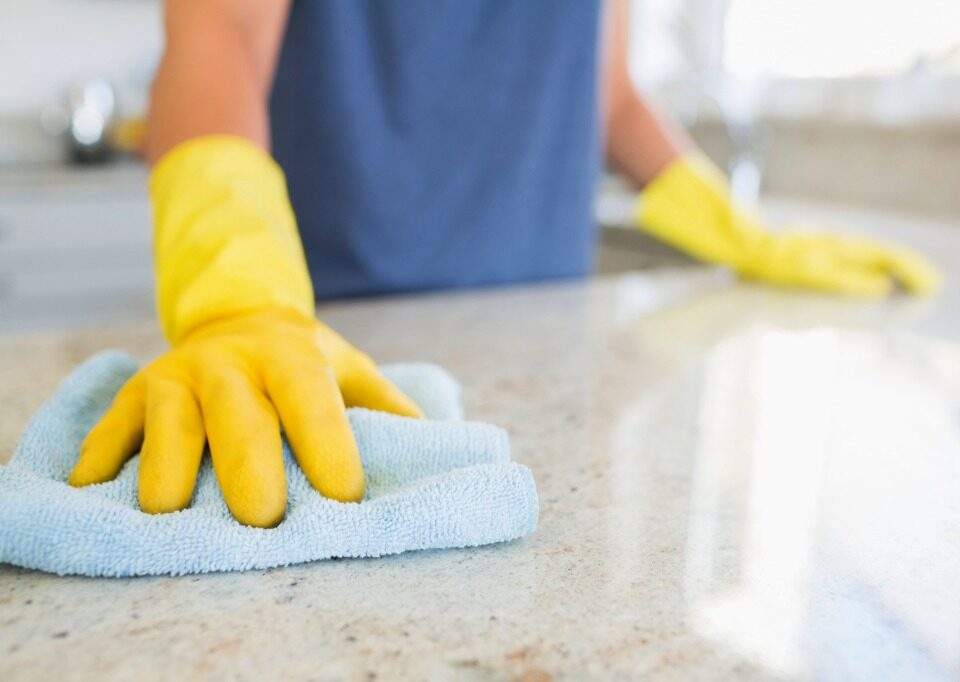
Cleaning your kitchen counters might seem like a simple task. However, there are common mistakes many people make that can damage your counters or perhaps not […]
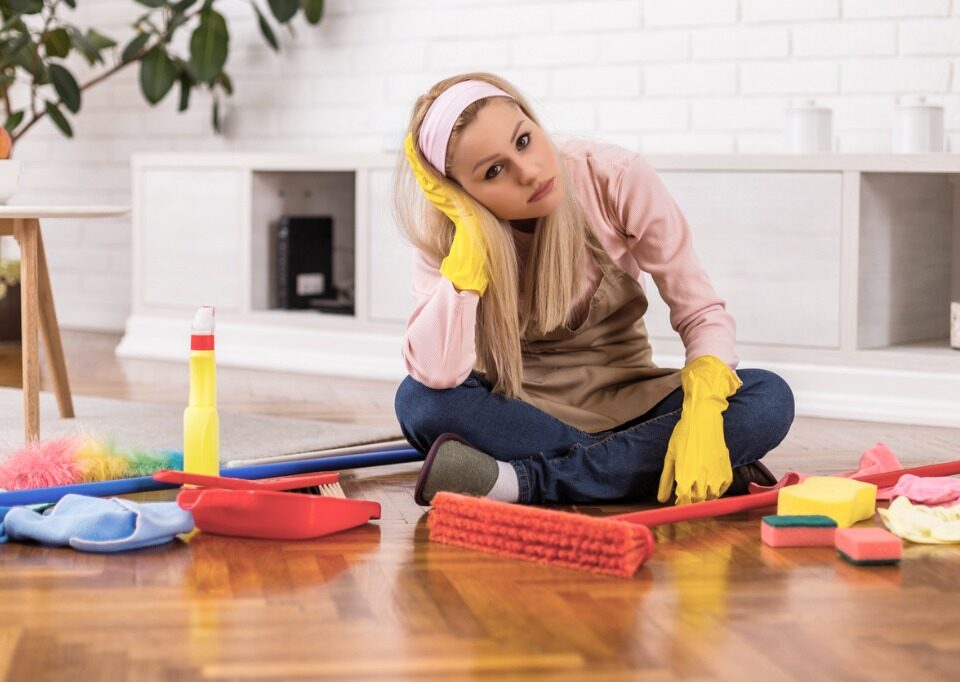
Cleaning floors is possibly one of everyone’s least favorite household cleaning chores. Using the right cleaning methods for your type of flooring can speed up the […]
There are special items and areas that need cleaning and attention in the summer or more frequent cleaning and attention. Here’s how to tackle those summertime […]
Did you know that even appliances used to clean things, such as your dishwasher and clothes washer need to be cleaned periodically themselves? When is the […]

