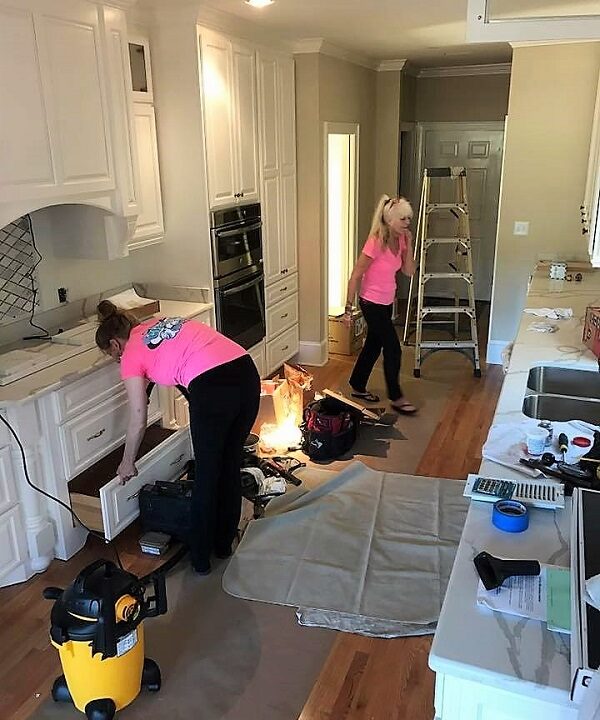
When you manage properties or vacation rentals, you need a cleaning partner that knows how to create an inviting and spotless space for your guests and […]
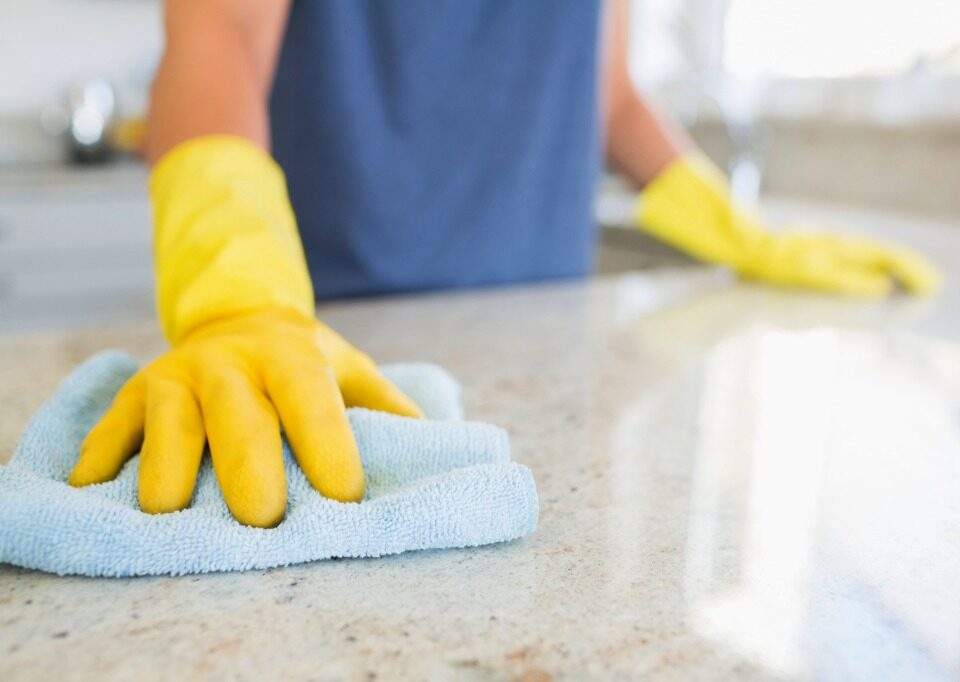
Cleaning your kitchen counters might seem like a simple task. However, there are common mistakes many people make that can damage your counters or perhaps not […]


