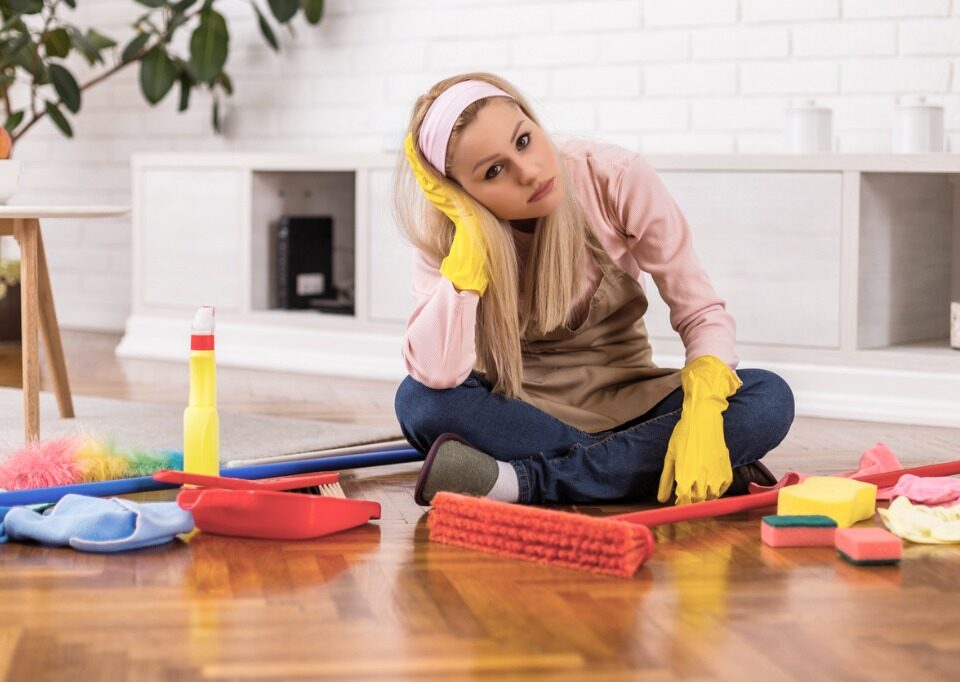
Cleaning floors is possibly one of everyone’s least favorite household cleaning chores. Using the right cleaning methods for your type of flooring can speed up the […]
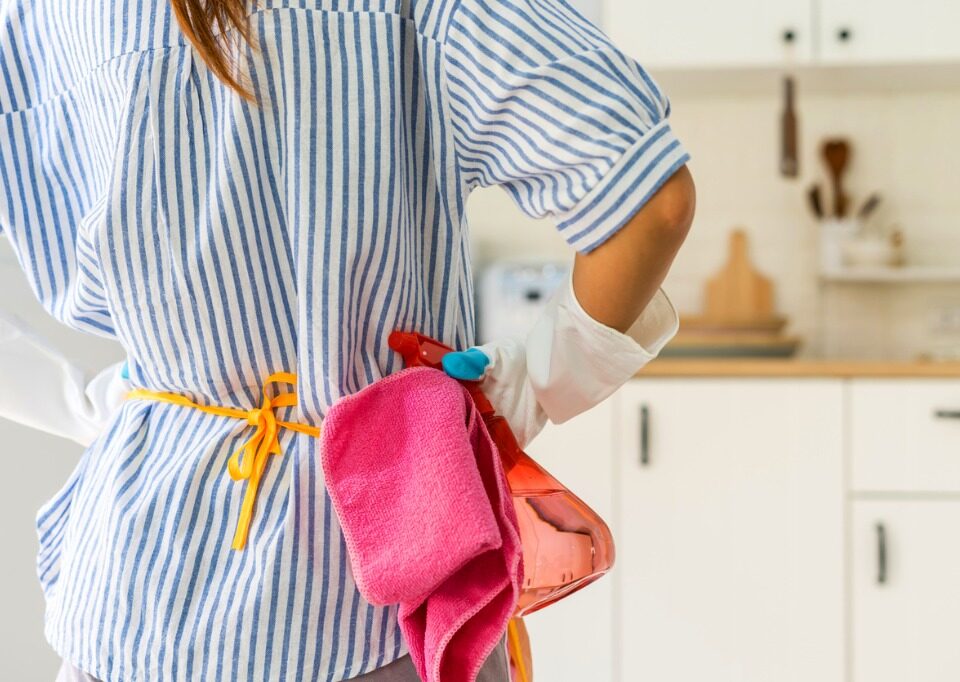
There are special items and areas that need cleaning and attention in the summer or more frequent cleaning and attention. Here’s how to tackle those summertime […]
Did you know that even appliances used to clean things, such as your dishwasher and clothes washer need to be cleaned periodically themselves? When is the […]
Is there a cleaning chore you tend to put off and put off? Is it cleaning the kitchen cabinets? Many people procrastinate on cleaning kitchen cabinets […]
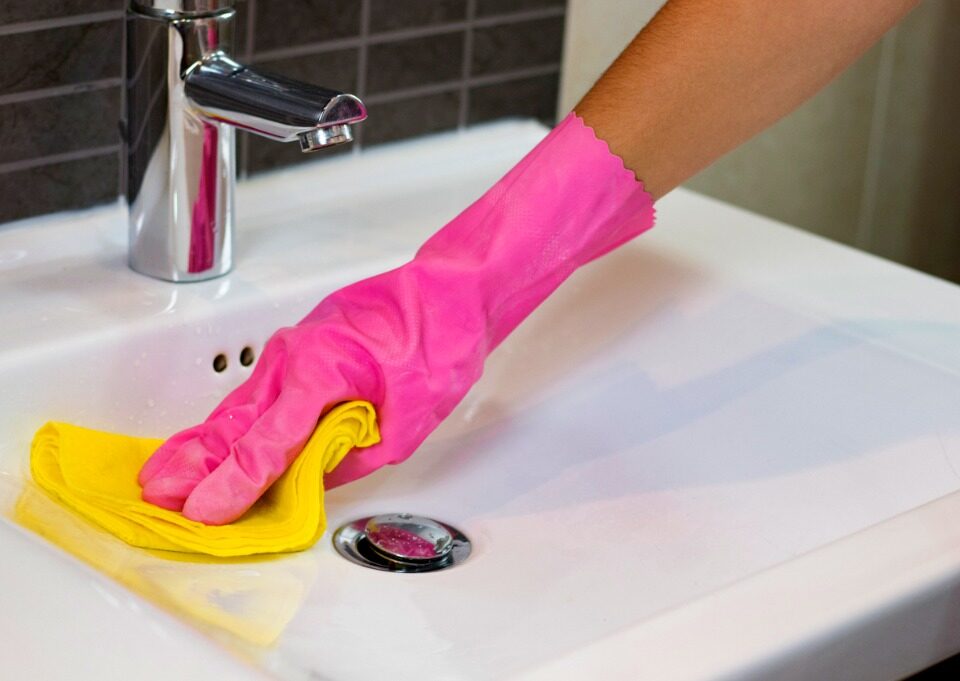
Cleaning the bathroom is probably everyone’s least favorite chore. Well, we have a handful of cleaning hacks that can help you clean each part of your […]


